目录

Mac M1 安装 modelscope 深度学习库

简介

随着社区支持的不断完善,现已支持M1 MAC 版本的 ModelScope安装。

modelscope官网,ModelScope 社区成立于 2022 年 6 月,是一个模型开源社区及创新平台,由阿里巴巴达摩院,联合 CCF开源发展委员会,共同作为项目发起方。社区联合国内 AI 领域合作伙伴与高校机构,致力于通过开放的社区合作,构建深度学习相关的模型开源,并开源相关模型服务创新技术,推动模型应用生态的繁荣发展。

基础环境

以 Mac M1 安装为例,以下是我的安装环境。

1
Darwin sp 22.1.0 Darwin Kernel Version 22.1.0: Sun Oct  9 20:15:09 PDT 2022; root:xnu-8792.41.9~2/RELEASE_ARM64_T6000 arm64

安装

1. 安装 M1 Mac Anaconda

根据 pytorch官网 指南安装 Anaconda

1
2
3
4
# The version of Anaconda may be different depending on when you are installing`
curl -O https://repo.anaconda.com/miniconda/Miniconda3-latest-MacOSX-arm64.sh
sh Miniconda3-latest-MacOSX-arm64.sh
# and follow the prompts. The defaults are generally good.`

2. 创建conda modelscope环境

虽然目前 modelscope官网建议使用 python3.7+。 但是由于python3.7 和 python3.9可能有问题,这里选用python3.8,

1
2
3
conda install setuptools_scm
conda create -n modelscope python=3.8
conda activate modelscope

3. 安装 M1 Mac Pytorch

在 modelscope 环境下执行:

1
pip3 install torch torchvision torchaudio

4. 安装 M1 Mac tensorflow

由于 ModelScope同时支持 Pytorch 和 tensorflow。 若安装官网直接进行第5步,会自动把这两个依赖装上。但在编译 grpcio 这个依赖库时会提示编译错误。 由 Grpcio fails installation for Tensorflow 2.5 on arm64 Apple Silicon得知安装M1 Mac tensorflow方法。

在 modelscope 环境下执行:

1
GRPC_PYTHON_BUILD_SYSTEM_OPENSSL=1 GRPC_PYTHON_BUILD_SYSTEM_ZLIB=1  python -m pip install tensorflow-macos

5. 安装 M1 Mac modelscope

在 modelscope 环境下执行:

1
pip install "modelscope[cv,nlp,multi-modal,science]" -f https://modelscope.oss-cn-beijing.aliyuncs.com/releases/repo.html

由于对 audio不感兴趣,未测试 modelscope audio的安装。

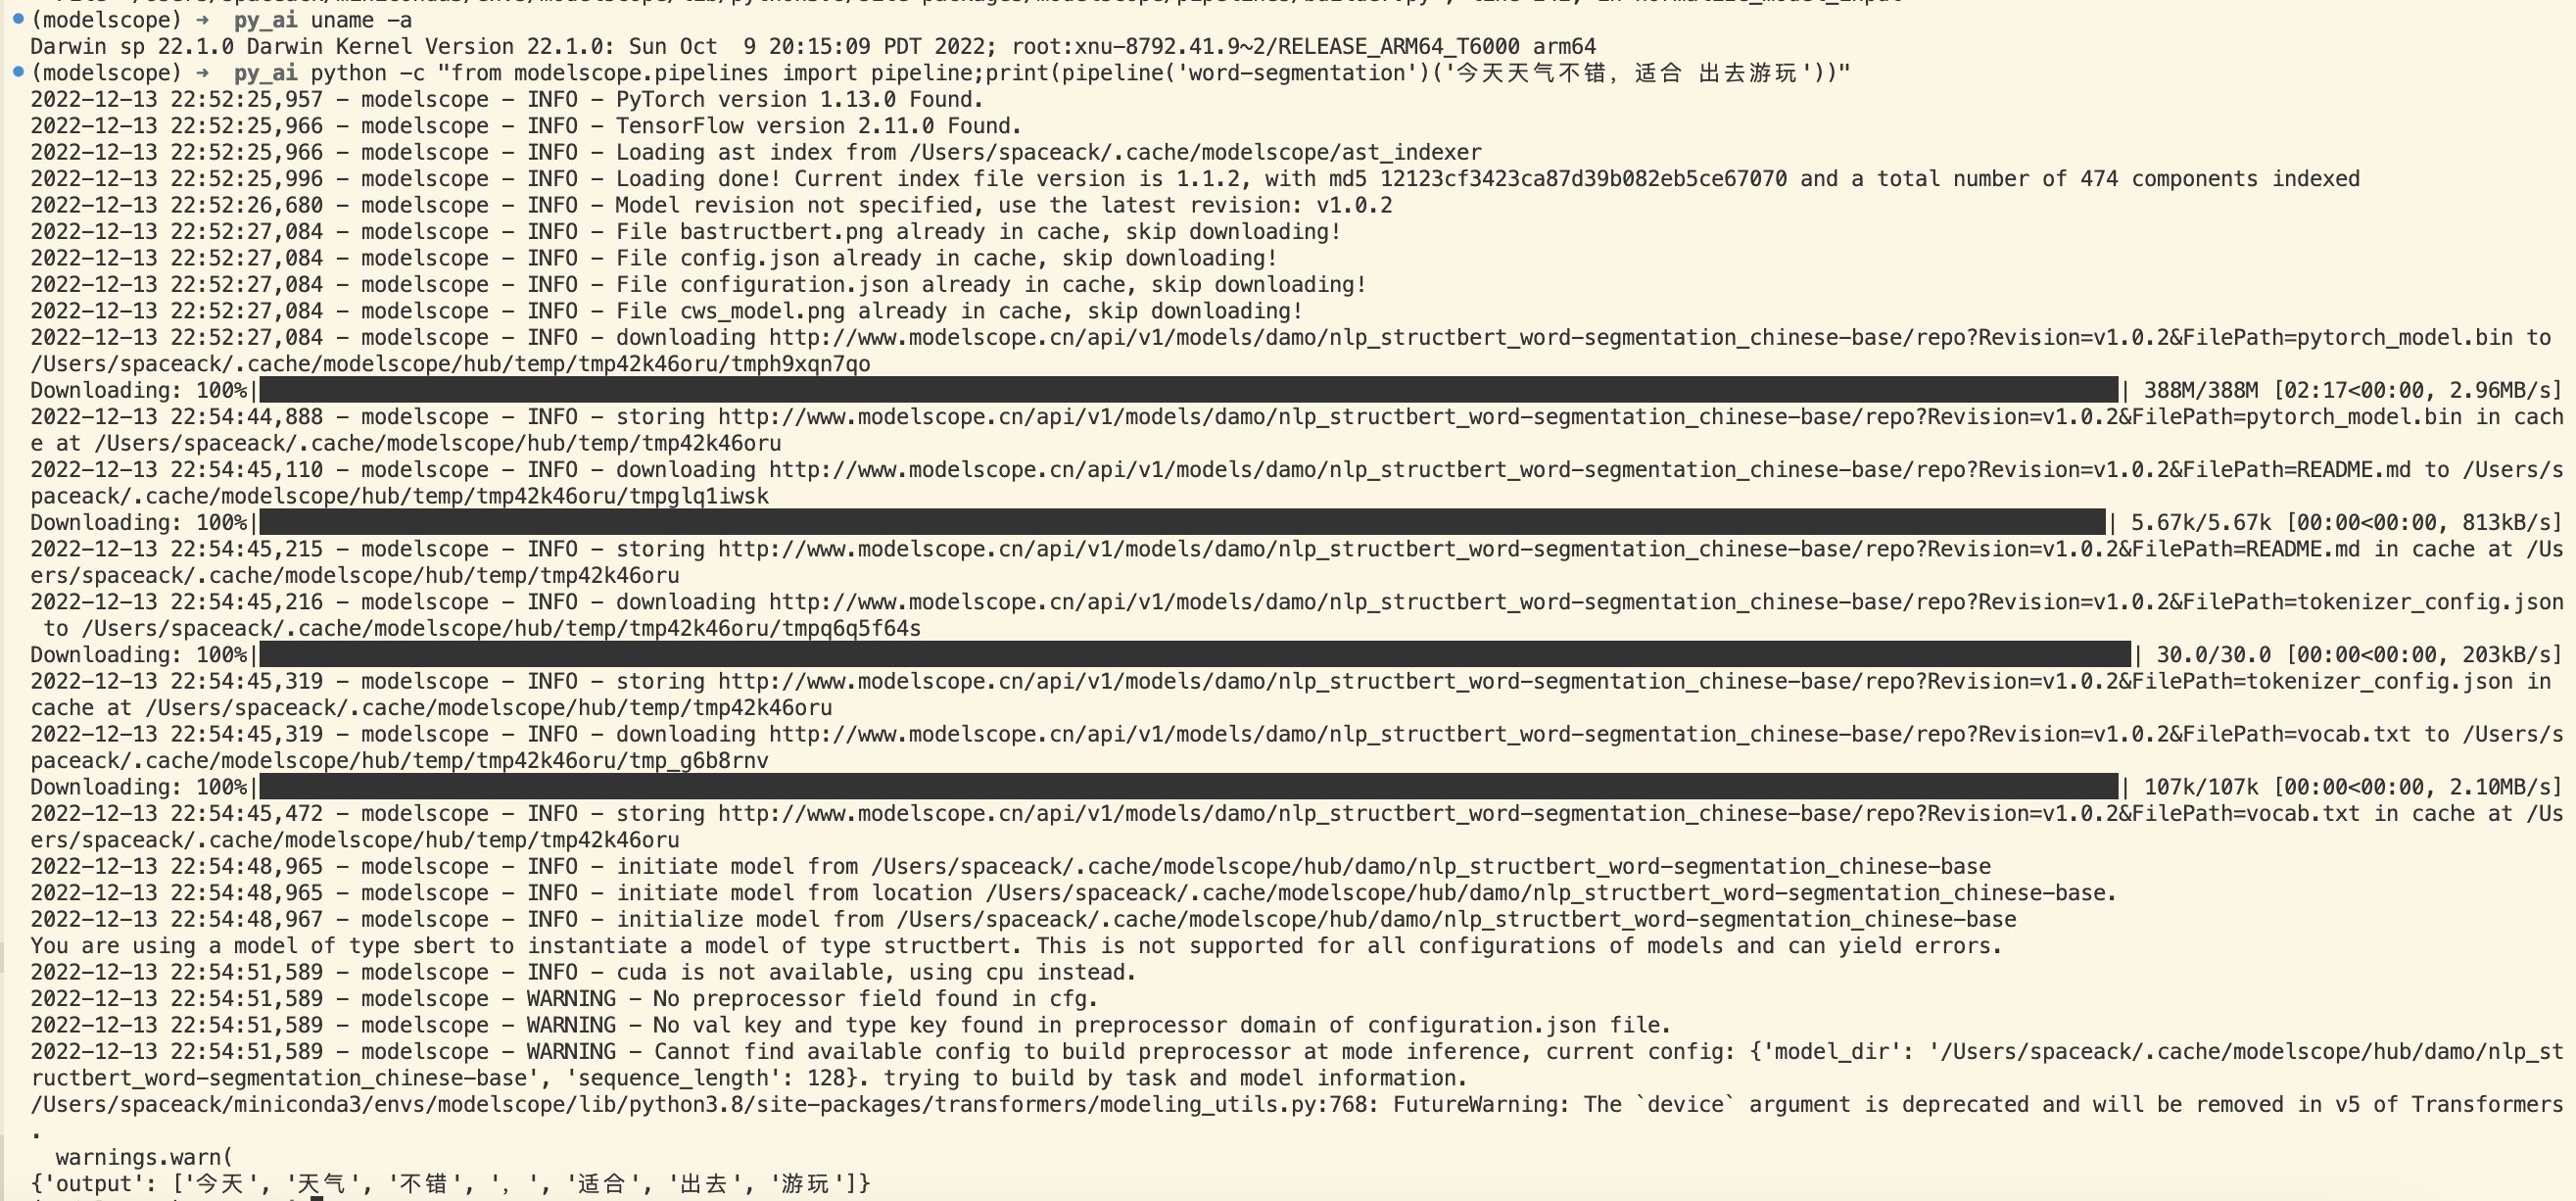
安装验证

1
python -c "from modelscope.pipelines import pipeline;print(pipeline('word-segmentation')('今天天气不错,适合 出去游玩'))"

/20221213-macm1%E5%AE%89%E8%A3%85modelscope%E6%B7%B1%E5%BA%A6%E5%AD%A6%E4%B9%A0%E5%BA%93/modelscope_test.jpg

/20221213-macm1%E5%AE%89%E8%A3%85modelscope%E6%B7%B1%E5%BA%A6%E5%AD%A6%E4%B9%A0%E5%BA%93/modelscope_test.gif